Coachwhipping the Wheel
For Christmas this year (2013) I thought I would do something nice for Chameleon. Actually, I had been wanting to do this for some time and the holiday downtime provided the perfect opportunity to learn some new knots. I've always been envious of those fancy coachwhipped wheels you often see on some of the expensive yachts bobbing around out there and more importantly, thought it might be nice to insulate my hands somewhat from the frigid steel of the wheel in late autumn. The problem was, I knew absolutely nothing about coachwhipping and there just isn't much information on the web on how to go about it. The most helpful site I found was the International Guild of Knot Tyers at http://www.surreyknots.org.uk/sitemap-page-order.htm.
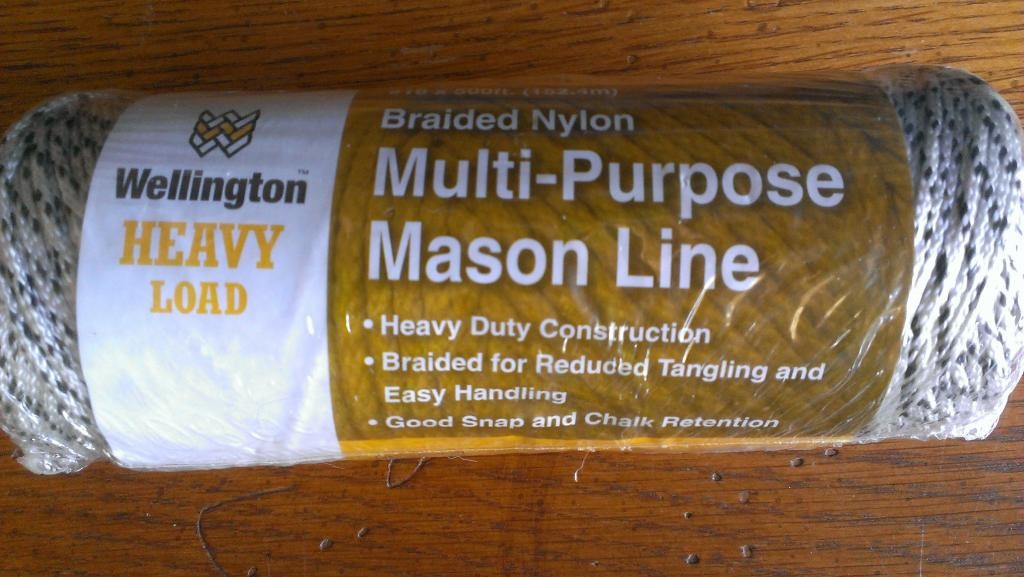
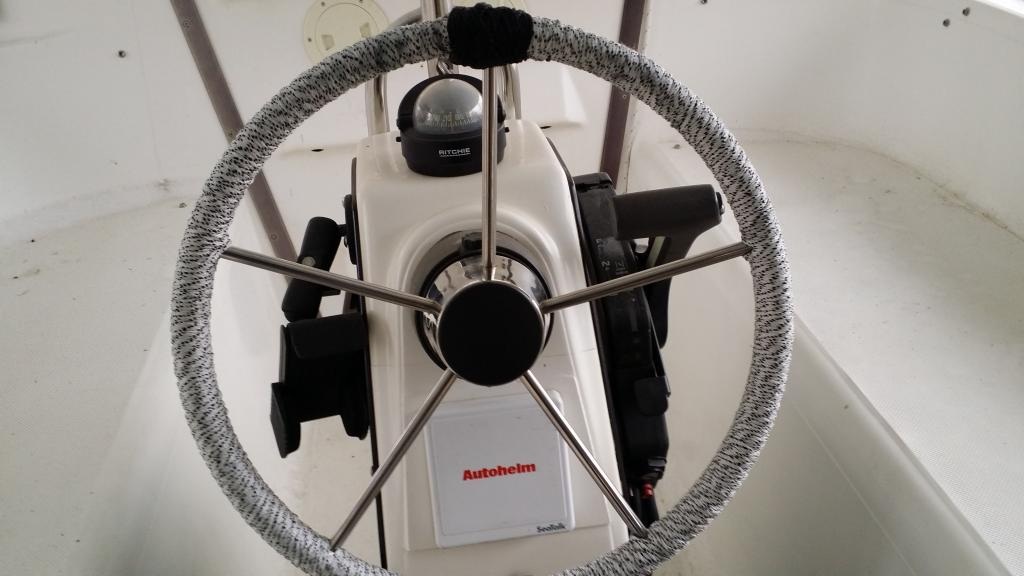
My first order of business was to pull the wheel so I could take it inside and work on it where I could feel my fingertips. Chameleon's wheel is only 49" in circumference and I wanted to have a tight weave so you wouldn't be able to see the stainless steel through the wrap. I chose to use a black and white 1/16 diameter mason line made by Wellington. I liked the look and feel of this line and it should hold up well outdoors. I like the end result, but if I had to do it over again I think I would go with solid white and solid black lines to add more contrast so the weave would stand out more.
My first order of business was to pull the wheel so I could take it inside and work on it where I could feel my fingertips. Chameleon's wheel is only 49" in circumference and I wanted to have a tight weave so you wouldn't be able to see the stainless steel through the wrap. I chose to use a black and white 1/16 diameter mason line made by Wellington. I liked the look and feel of this line and it should hold up well outdoors. I like the end result, but if I had to do it over again I think I would go with solid white and solid black lines to add more contrast so the weave would stand out more.
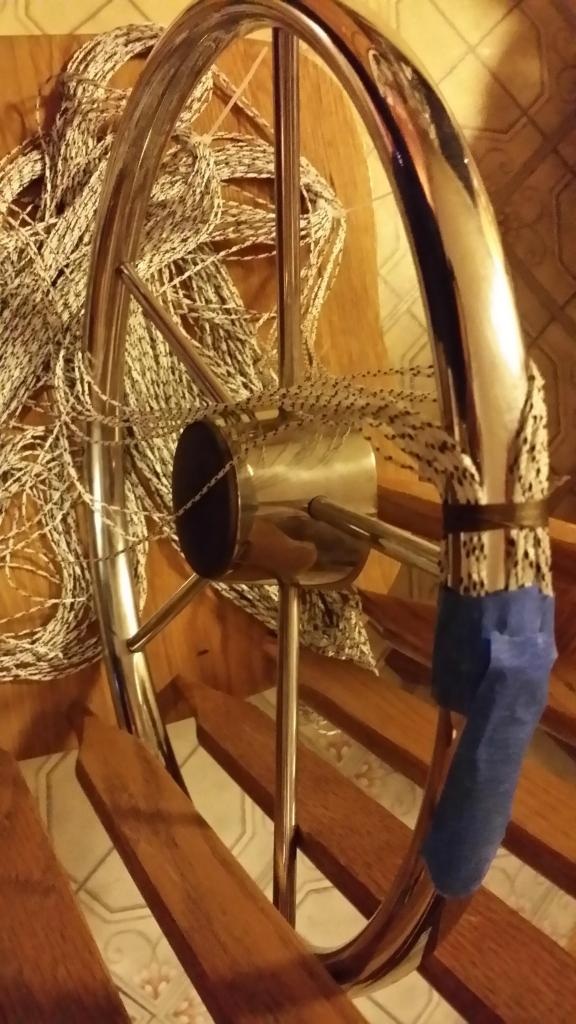
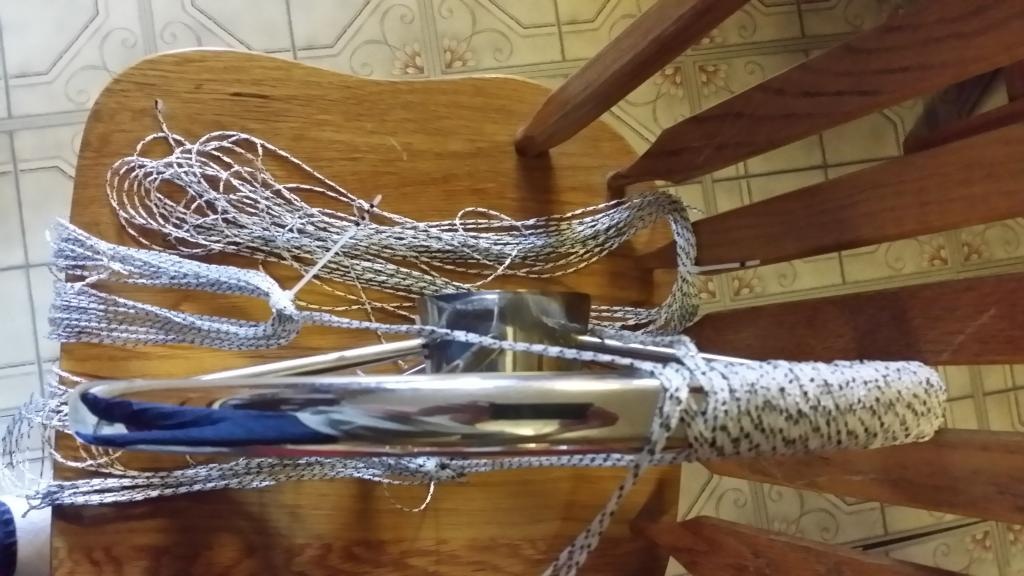
Once indoors, I found our kitchen chairs made a great work bench albeit about 2' short. I was able to wedge the wheel upright between the back slats perfectly. The seat pan made an excellent area to keep the lines sorted out also. I originally thought about using 6 strands of 3 lines to cover the wheel however, I quickly found 6 strands too cumbersome for the inch wide wheel. I ended up pulling two strands off and re-positioning the four remaining strands. Unfortunately, I had already cut the lines to the length needed for the original plan and while I always put in a bit of a fudge margin, I fully expected the remaining 4 strands to come up short. Luckily there was a greater margin than I anticipated and I was able to complete the wheel without having to magically stretch my lines and ending up with a very apparent splice in my handiwork!
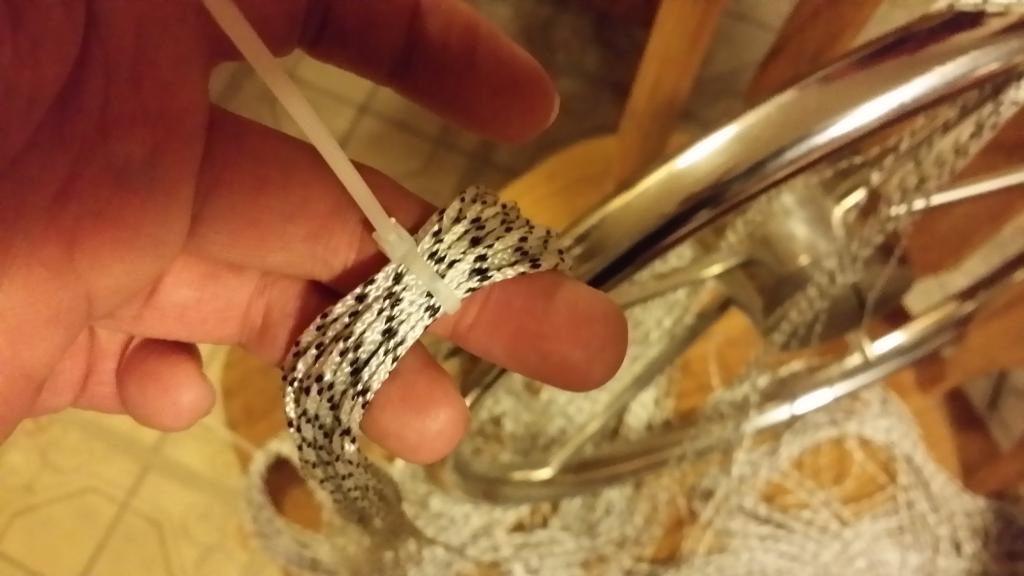
I seized the ends of the lines to the wheel using sail thread at the king spoke (the spoke that points up when the rudders are pointing fore and aft allowing the boat to go straight ahead). I created 6 coils of line 27 feet in length and secured them with small nylon wire ties. Since I really had no idea how to coachwhip and my apparent inability to fully comprehend the diagrams. I devised a method of numbering the "tails" of the wire ties 1 thru 4 so I could keep track of which bundle to pass through in their respective order. After a good start I found I no longer needed the numbering system but it really helped in the beginning. Also, once you reach a point where you need more line to continue your weave you only need to slide the wire tie around the loop (assuming you didn't snug it down too tight). This really helps keeping all that line manageable.
Once you get rolling on the weave it is easy to tell which line to wrap next. You only need to pass the back line under the wheel, coming out the opposite side between the front and second line, then up and over the top of the leading line. The most time consuming part is keeping all three lines in the strand flat and in order. If you fail to do this, the results will be aesthetically unappealing and you can't have that on a proper yacht!
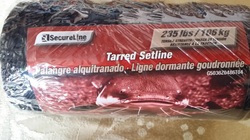
Once you've worked your way all around the wheel, seize the lines again at the king spoke. Since this was my first attempt at seizing lines I elected to also put a liberal dose of Gorilla Glue on the seizings for added insurance. This of course creates a rather unsightly and unfinished look, so one needs to clean it up by hiding this newly created mess with a traditional Turk's Head knot. I debated how I wanted to create this. How big? How should it look? I came across this roll of black tarred setline which is about twice the diameter of the mason line at Walmart for $4.99 and decided to give it a try. I knew I wanted a contrasting color and this also gives a contrast in material.
All the information websites will tell you that the turk's head is one of the easier knots to tie. Supposedly much easier than the coachwhipping. However, I found the exact opposite to be true. I spent about 5 hours weaving the entire wheel but I spent at least that long tying the turk's head and even longer finding a site that actually knew how to tie one or had adequate instructions on the subject. The site I found most helpful was created by a scout leader and I will gladly tip my hat to him for his wonderful assistance: http://www.folsoms.net/knots/ Without his help, I was ready to settle for something simple and completely un-decorative. He even has posted printable diagrams to lead you through the frustration.
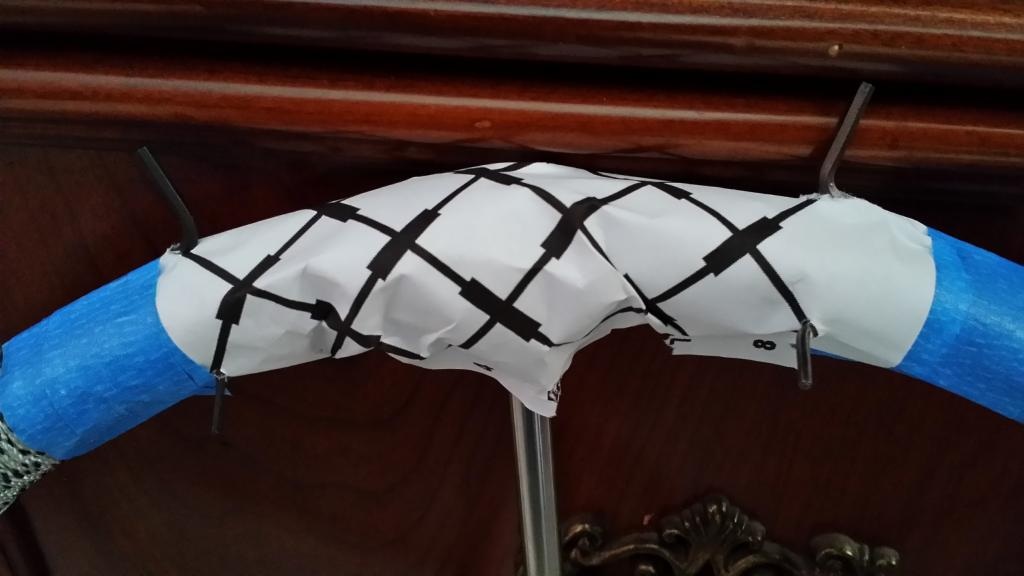
I taped small allen head wrenches to the wheel to use as jigs. It made keeping track of the line much easier. Just poke them through the paper at the point of each bight and your ready to start your knot. I decided to use a 3 bight 8 line knot but probable could have gone with 10 or even 12 lines for a wider cover. All in all, I am very happy with the results, especially since this was my first time tying any type of fancy knots.
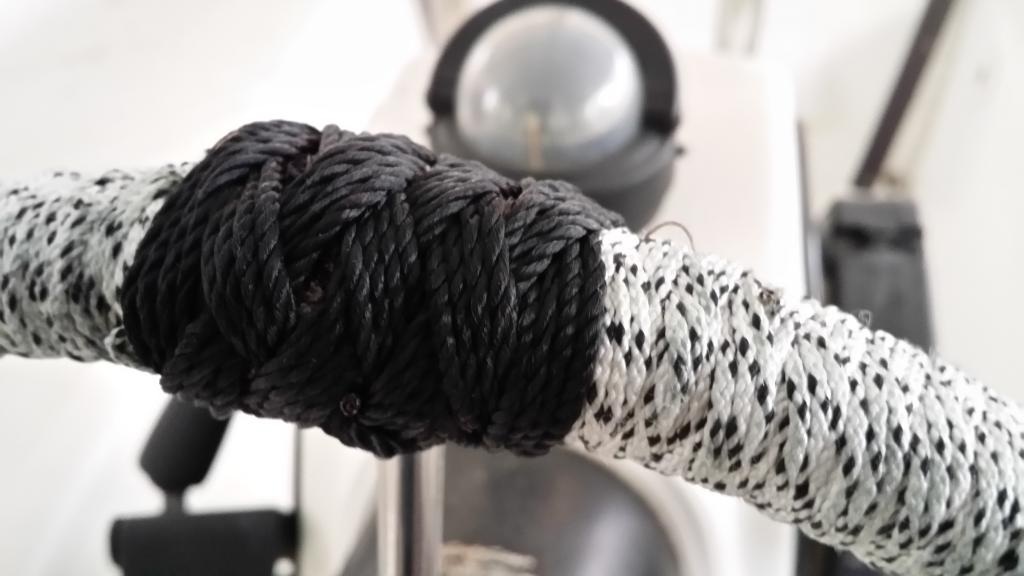
Next time I will incorporate a white center line into the Turk's head for greater contrast but there was no way I was going to complicate this knot any further than I had to this time.
